INSTALLATION IS A BREEZE!
Typical Exterior Wall Plastirock™ Application Cross Section.
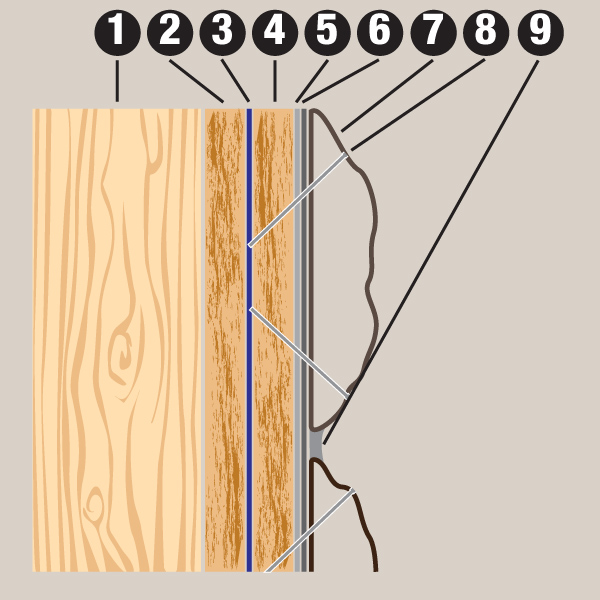
- Exterior wall stud.
- Exterior sheathing of structure.
- Weather resistant barrier (ex. Tyvek®).
- Exterior sheathing, recommended minimum 3/8” thick plywood, oriented strand board (OSB), or equivalent.
- Exterior primer.
- Exterior paint. If mortar repair or masonry repair will be used to fill gaps between rocks, it is recommended that the paint be color matched to the mortar repair or masonry repair color in the event of gaps in the application.
- Plastirock™.
- Two inch brad nails (minimum), installed at opposing 45 degree angles through Plastirock and into wall surface for strongest bond.
- Mortar repair or masonry repair (optional).
Installation of Plastirock must be in accordance with all Government regulation, including local building, environmental, fire and safety Codes to ensure compliance with margins of safety among other things. Manufacturer assumes no responsibility for any installation or application which does not comply with Government regulation.
Tyvek® is a registered trademark of E. I. du Pont de Nemours and Company or its affiliates. Like all organic materials, plastic and wood are combustible and will burn. The flammability tests conducted on the polymer used to produce Plastirock™ were in accordance with the standard tests for flammability of plastic materials for parts and devices and appliances, UL 94 5th Edition. The material was rated “HB”.
Plastirock is the perfect choice for do-it-yourself stone accent and siding projects because installation is so easy!
Simply follow the instructions provided with every box to prep the surface, indoor or outdoor, to which you are applying Plastirock.
If space allows, we recommend you roughly lay out the pattern of Plastirock you’d like in an area of similar size and shape to your project.
If you have corners in your project, we recommend installing Plastirock corners (sold separately) first. If your project ends at a wall, cut to fit using any wood saw.
When you are happy with the pattern you have created, start nailing each Plastirock to the project surface, beginning in the center of your project and working your way out.
Nail through each Plastirock at least three times with two-inch brad nails (minimum), at a 45 degree angle to the surface you are nailing into.
When all Plastirock is applied, you’re done!
Color choices:
-

Cottage Mix
The ultimate choice for a random stone pattern. Each box of cottage mix contains a mix of the five Plastirock colors. Combined with our 100+ shapes, there are over 500 color and shape combinations possible! -

Light Granite
A neutral gray with a medium texture that is well suited for area applications or as a neutral accent to bold colors. -
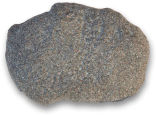
Dark Granite
The coarse texture and darker tone of this rock pairs well with natural wood and in area applications with lots of natural light. -
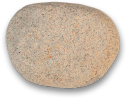
Ivory Coast Granite
The perfect choice for a “light” rock, the blonde color and fine texture of this rock brightens any surface. -
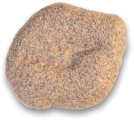
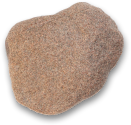
Coarse Sandstone
Bold and beautiful, this rock pairs well with neutral colors and as a companion to dark, natural woods. -
Fine Sandstone
A classic sandstone look that is well suited for area applications or as a colored accent to bold colors. -
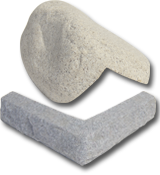
Corners & Ledgers
Corner stones and ledgers are available in all colors for the perfect fit and finish.